
Only Admins and Tag Admins can add, edit, or delete tags.
Anatomy of a tag
Creating an NFC Tag
NFC tags are physical chips embedded in stickers, cards, or keyrings. When a user taps their phone to an NFC tag, FocusFlow reads the Tag UID and starts or ends a focus session.Register an NFC tag in the web app
Use this method when you have the Tag UID (read from the chip with a separate NFC reader or noted from the tag packaging).1
Open Tags
From the dashboard, go to Tags and choose Add tag.
2
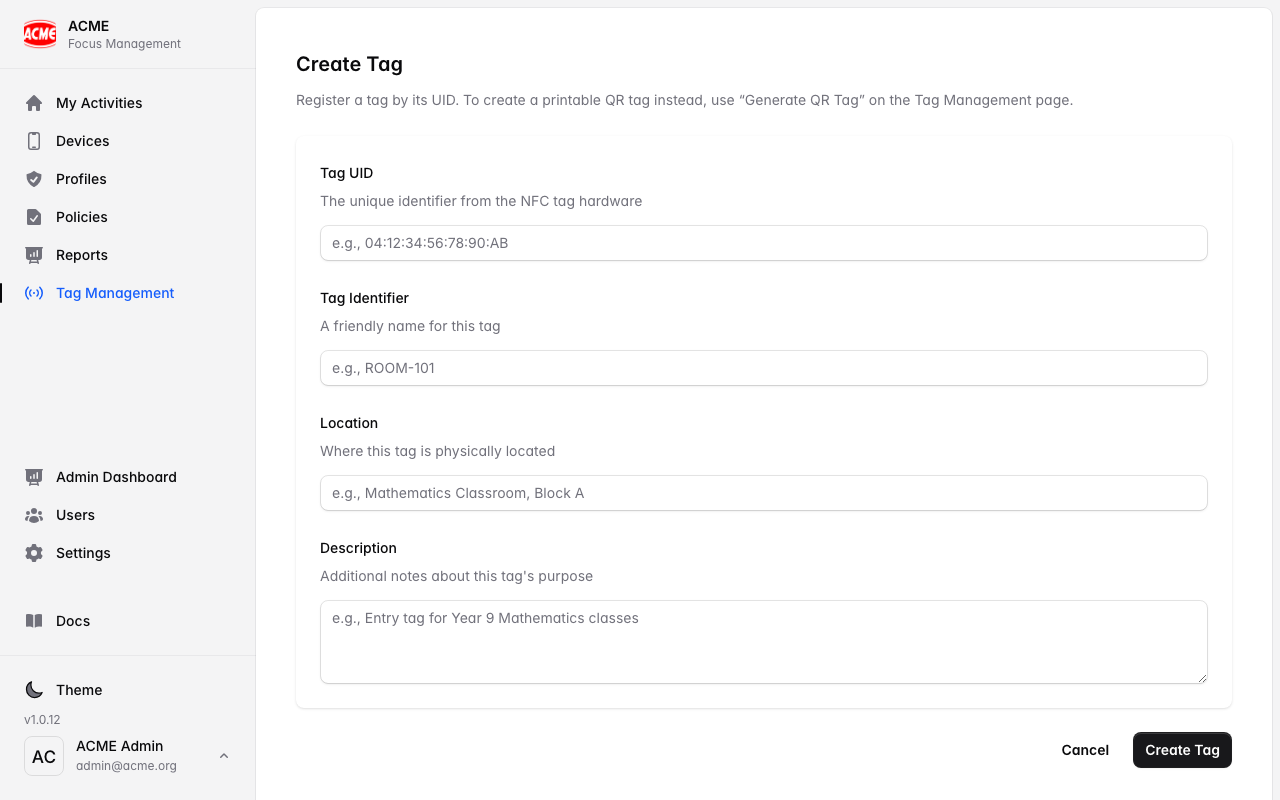
Enter the Tag UID
Type or paste the tag’s UID — usually shown as hex pairs separated by colons (e.g.
04:A1:B2:C3:D4:E5:F6). This must exactly match what the chip broadcasts.3
Fill in the details
Add a friendly Identifier (e.g.
CLASSROOM-101), a Location, and an optional description.4
Save
Select Create. The tag is registered and ready to scan.
Write and register an NFC tag from the mobile app
This method writes the UID directly to a blank NFC chip, then registers it — no separate reader needed.1
Tap the + button
On the app’s main screen, tap + (top‑right). You must be signed in as an Admin or Tag Admin.
2
Choose a tag type
- Standard — can be rewritten later.
- Password Protected — requires a password to change the tag in future.
- Permanently Locked — can never be rewritten (irreversible; use for permanent installations).
3
Write the chip
Hold the back of your phone near a blank NFC chip. The app writes the UID automatically.
4
Fill in the details
Enter the Identifier, Location, and optional description, then tap Save. The tag is registered and its UID is recorded.
The app shows each new tag’s UID after writing. Note it down if you intend to also print a matching QR code.
Creating a QR Code Tag
QR codes are ideal where NFC isn’t practical — large rooms, outdoor areas, or laminated printouts on desks. A FocusFlow QR code encodes the same Tag UID as an NFC tag, so scanning either one has identical effect. You can create a tag that is QR only (no physical NFC chip), or generate a QR code to accompany an existing NFC tag.Generate a QR code in the web app
1
Open or create the tag record
Go to Tags and open an existing tag, or create a new one (see above). For a QR-only tag, you can enter any unique UID that isn’t already in use — or let FocusFlow generate one for you.
2
Generate the QR code
Click Generate QR (or Download QR). FocusFlow produces a print-ready QR image using your organisation’s QR template (logo, border, and branding colours set in Settings).
3
Download and print
Save the PNG or PDF. Print it at the size appropriate for the viewing distance — at least 4 cm × 4 cm for desk use; larger for wall mounting.
4
Laminate and place
Laminate the printout to protect it. Stick or mount it where users will scan — at eye level, with clear sightlines.
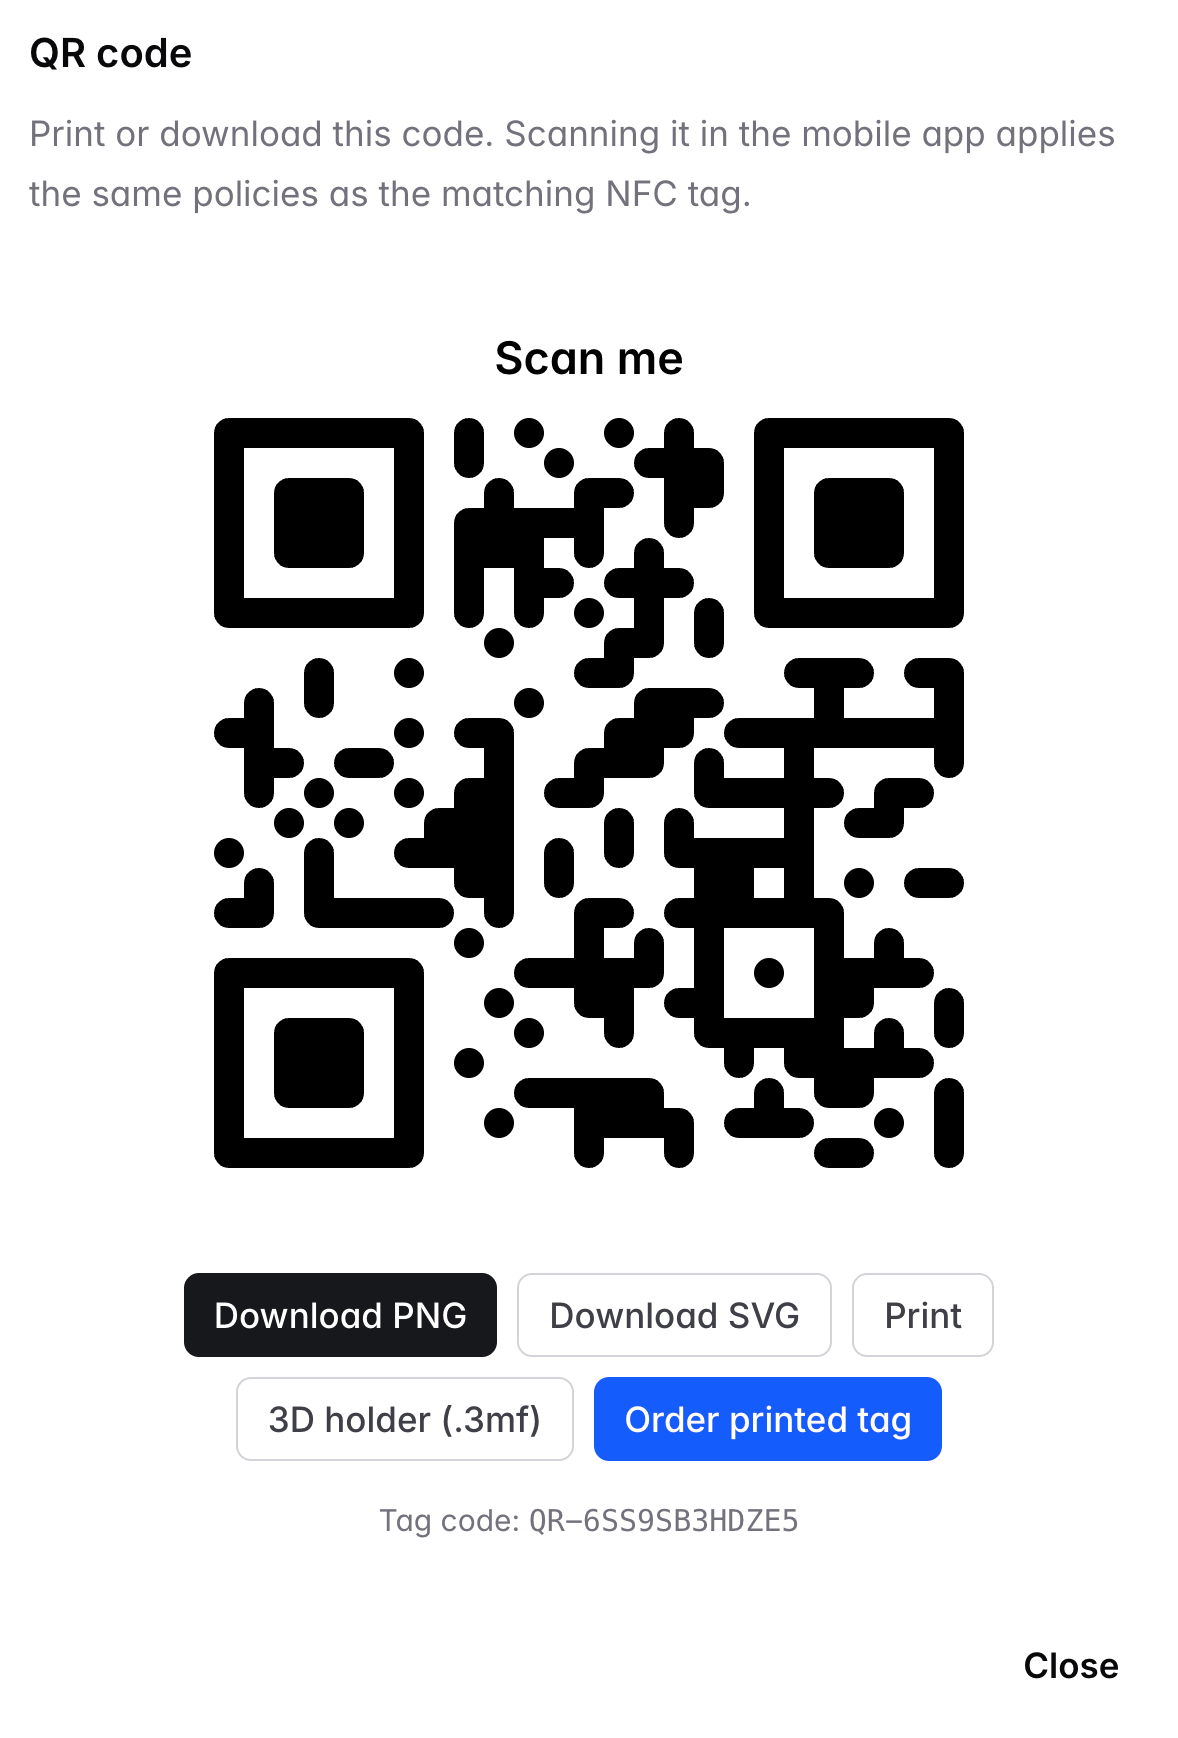
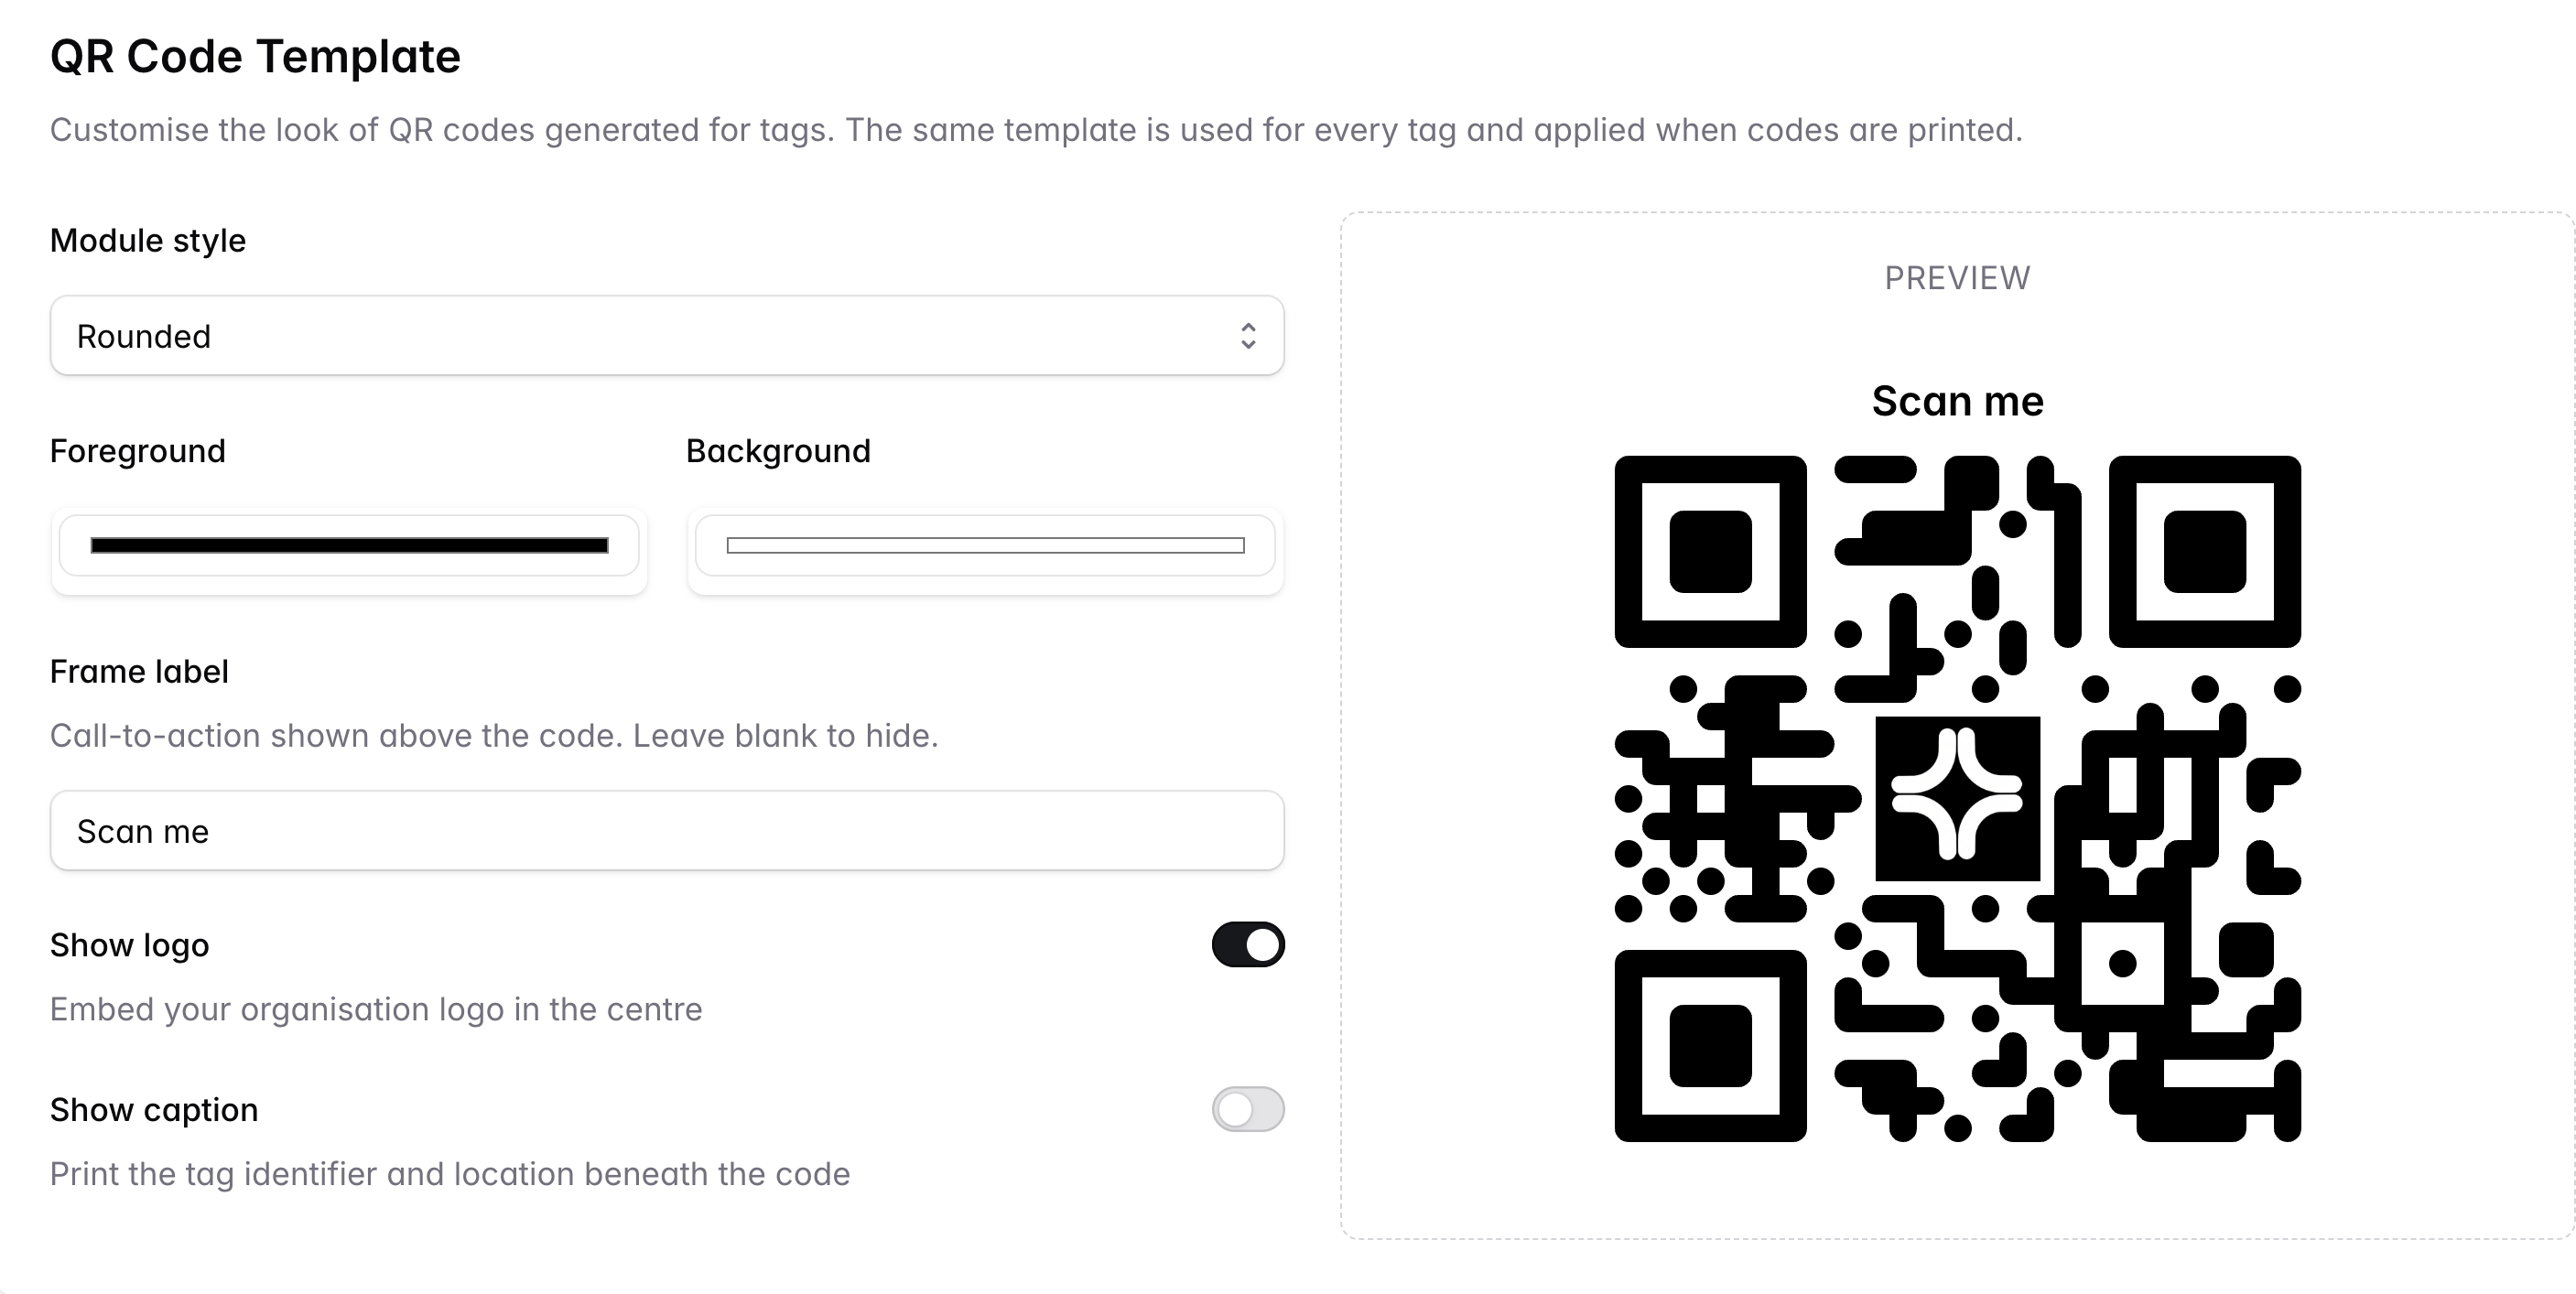
When downloading a QR code intended for a 3D holder, remove the logo and caption from your QR template first (Settings → QR Code Template). Logos and captions add whitespace that changes the dimensions of the printed image and may cause it to not fit correctly in the holder.
QR-6SS9SB3HDZE5) is the unique identifier encoded in this QR code. Keep a record of it if you need to cross-reference the printed tag with its entry in the dashboard.
Create a QR-only tag from the mobile app (no NFC hardware)
On a device without NFC (or in the emulator), the app skips writing a physical chip and goes straight to registration. Use this to create a QR-only tag without a computer:1
Tap the + button
Tap + (top‑right). The app detects that NFC is unavailable and offers to create a tag record directly.
2
Fill in the details
Enter the Identifier and Location. The app assigns a UID automatically.
3
Save
Tap Save. The tag record is created. Log in to the web app to download and print the matching QR code.
QR code template
You can customise the appearance of all generated QR codes — adding your organisation logo, choosing border colours, and setting a footer label — in Settings → QR Code Template. The template applies to every QR code you generate from that point on.