Only Admins can change organisation settings.
What you can configure
Organisation name
The name shown across the app and on your team’s devices.
Timezone
Used to evaluate policy time ranges and days of week. Set this to your local timezone.
Logo / branding
Upload your organisation’s logo (Admins only).
Default profile
Choose which restriction profile applies when no policy matches.
Set your timezone
1
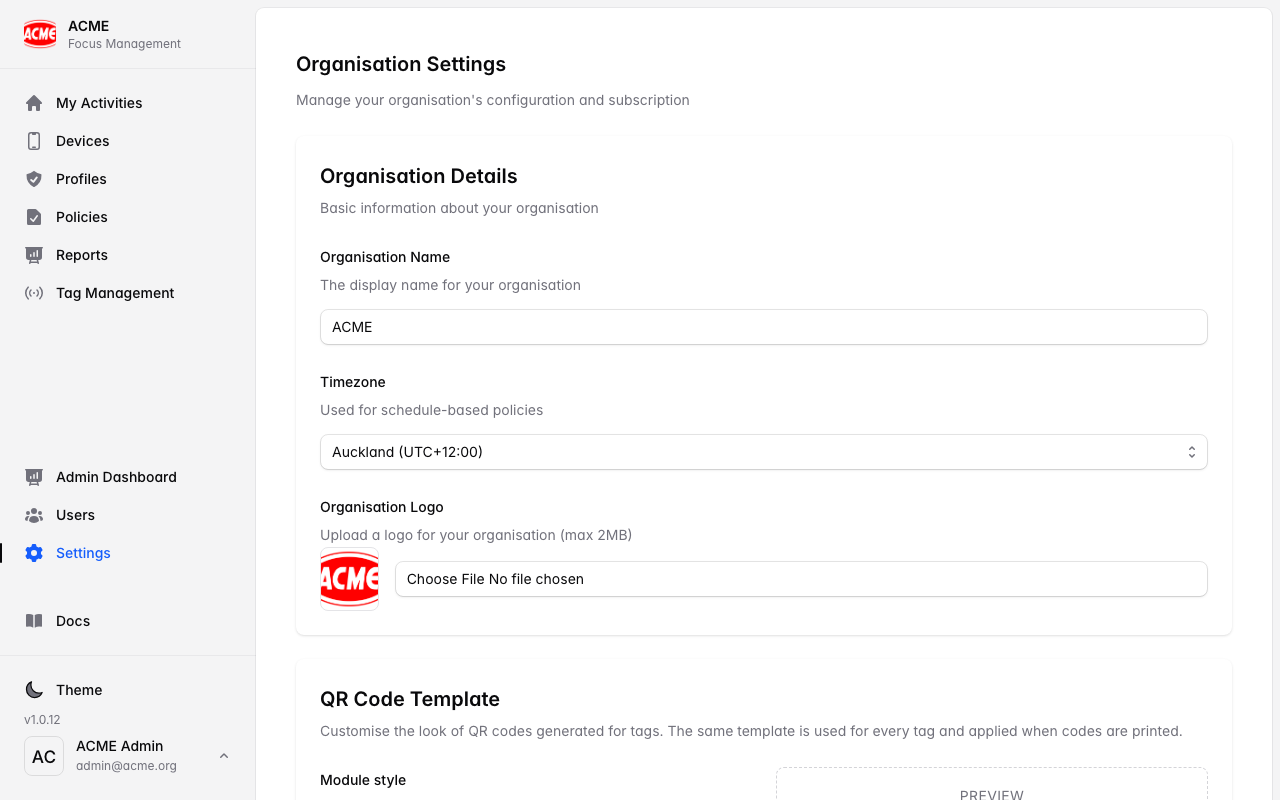
Open Settings
From the dashboard, go to Settings.
2
Choose your timezone
Select the timezone your organisation operates in.
3
Save
Apply the change. Time‑based policies are evaluated using this timezone.
QR Code Template
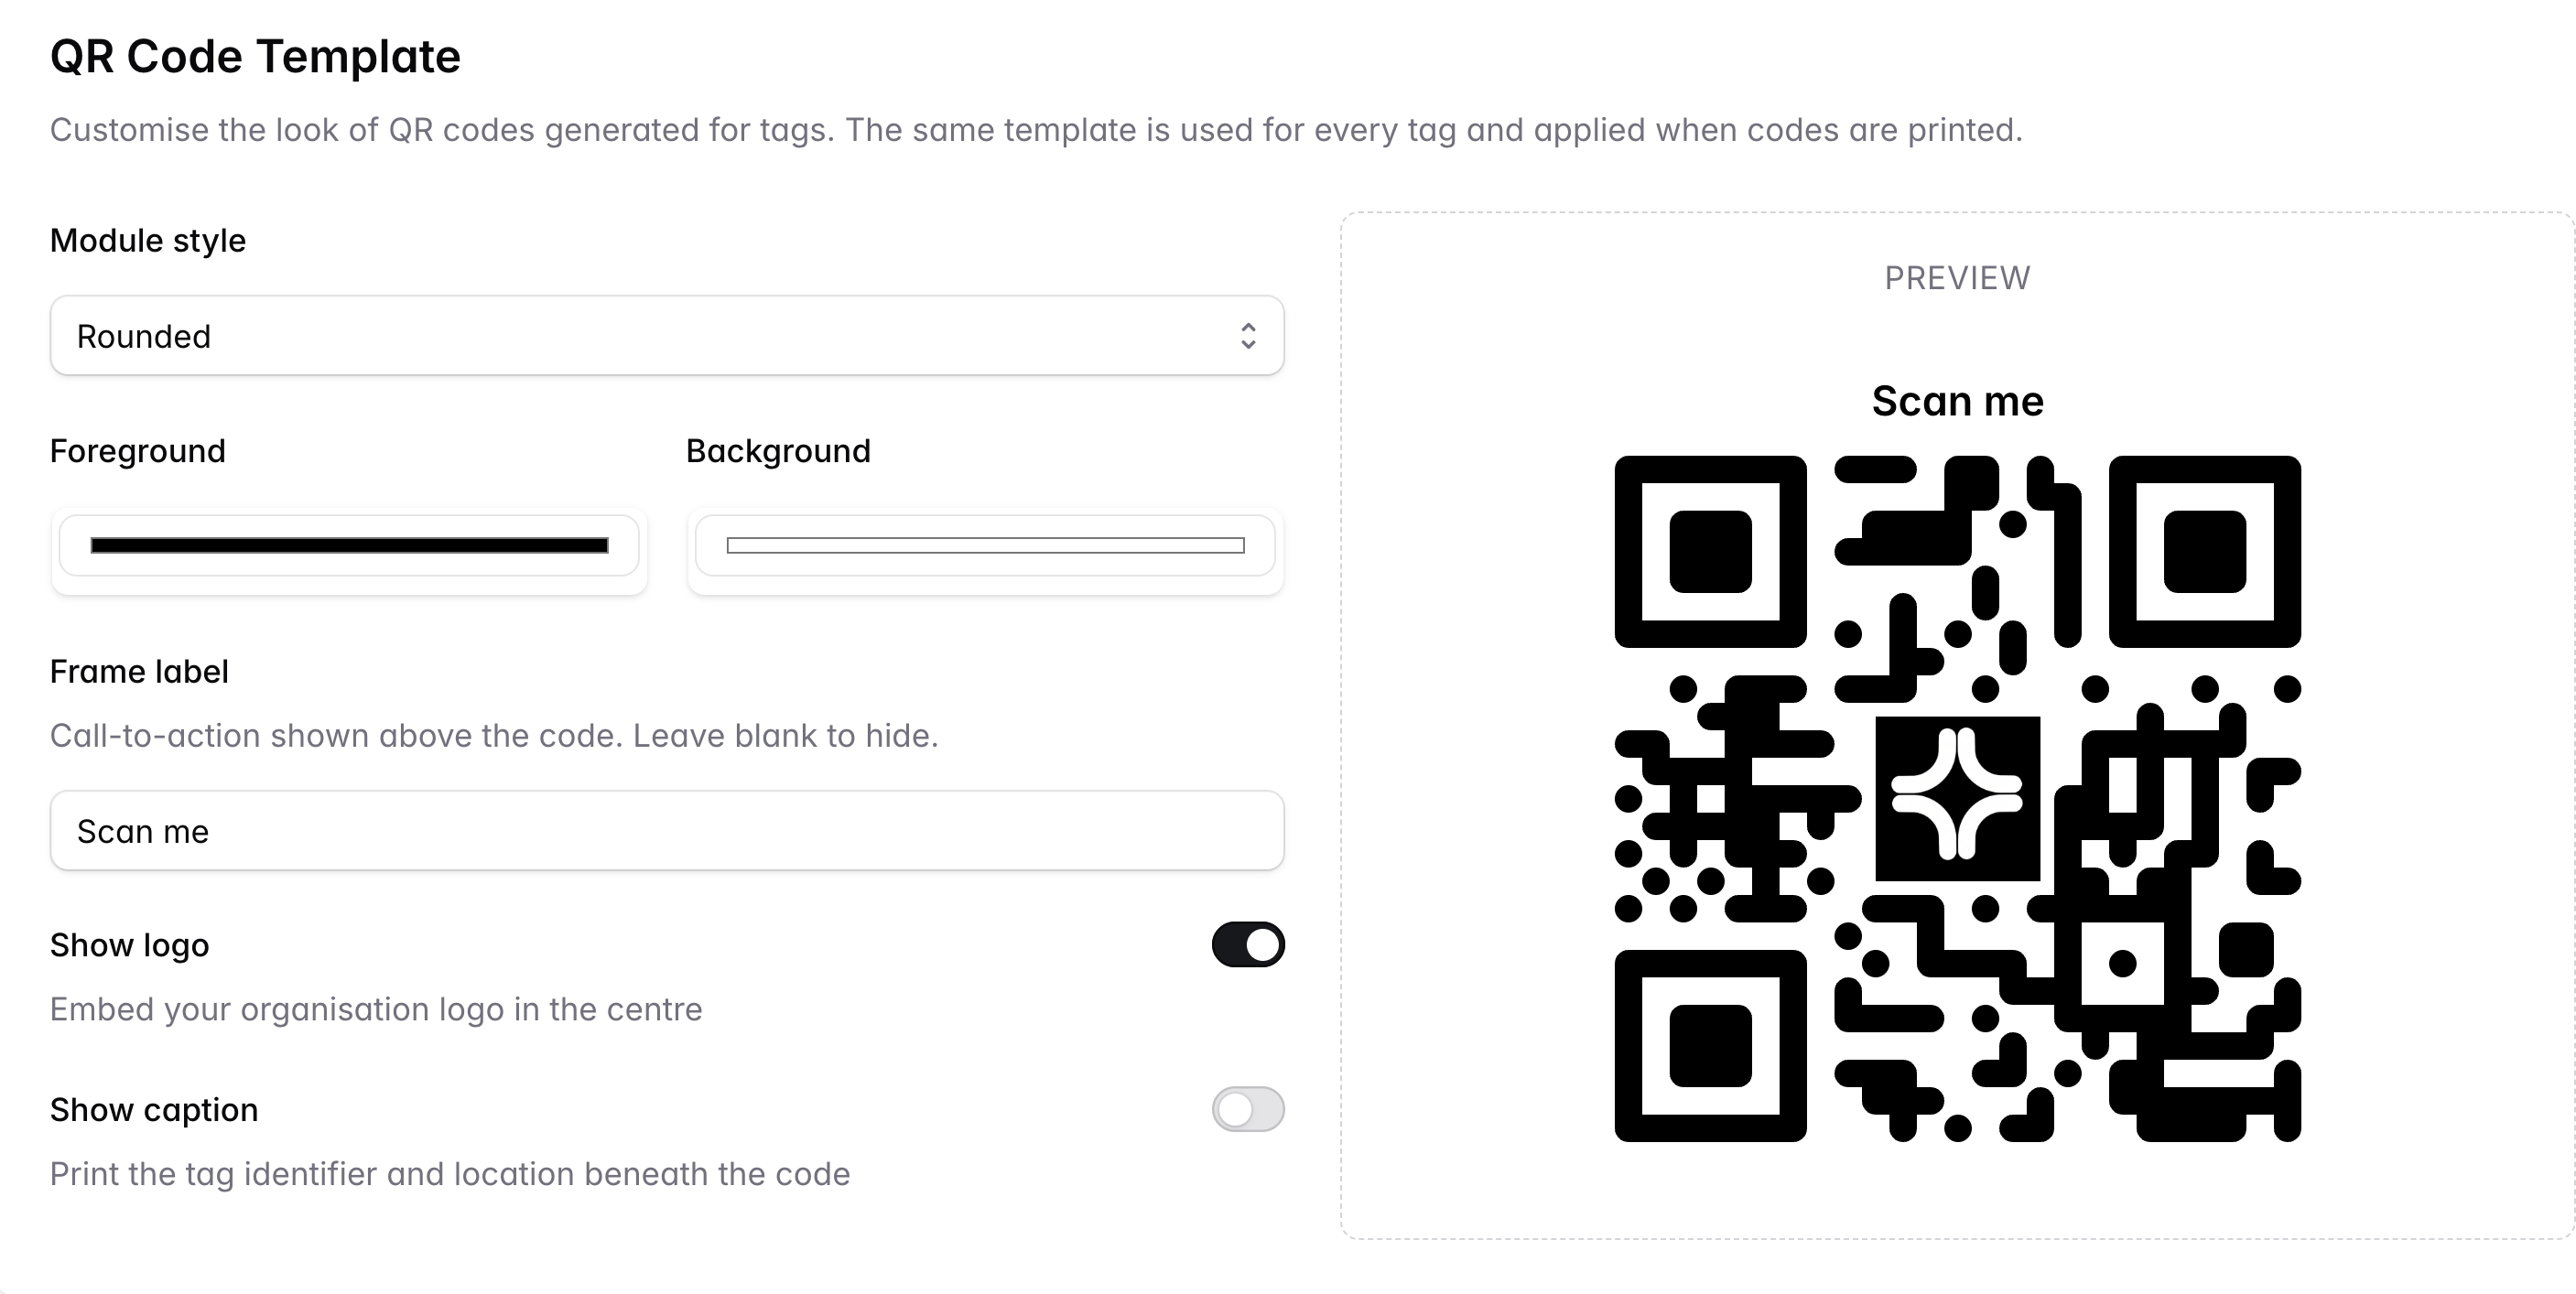
Customise the appearance of every QR code your organisation generates. The template adds your logo, branding colours, and an optional footer label so printed QR codes look professional and are easily identified as belonging to your organisation.1
Open Settings → QR Code Template
From the dashboard, go to Settings and select the QR Code Template section.
2
Upload your logo
Upload a square PNG or SVG logo. It will be centred in the QR code’s quiet zone.
3
Choose colours
Pick foreground and background colours. Use sufficient contrast — light background, dark foreground — so the QR code remains scannable.
4
Add a footer label (optional)
Enter a short line of text that appears below the QR code (e.g. “Scan with FocusFlow” or your organisation name).
5
Save and test
Save the template, then generate a test QR code from any tag to preview the result. Print a test page before reprinting in bulk.
Single Sign-On (SSO)
Connect your organisation’s identity provider (Microsoft Entra, Google Workspace, Okta, etc.) so staff sign in with their existing credentials. See Single Sign-On for the full setup guide.Subscription & limits
Your plan determines how many devices, tags, profiles, and policies you can create. See Subscription Management to view usage and upgrade.Danger Zone
Delete your organisation
Deleting your organisation permanently removes:- All users, their roles, and their activity history
- All tags, restriction profiles, and policies
- All devices and scan records
- Your subscription (you will not be charged again, but no refund is issued for unused time)
1
Open Settings → Danger Zone
Scroll to the bottom of the Settings page and expand the Danger Zone section.
2
Confirm deletion
Type your organisation’s name to confirm you understand this is irreversible, then select Delete organisation.
3
Account closure
All organisation data is queued for deletion. Your personal account is also removed. This process is irreversible — there is no recovery.
Before deleting, consider deactivating your subscription and removing users individually if you only need to wind down partially. Deletion is a last resort.